Documentation / Advanced Configurations
PAC file on GIT
PAC File on Git
Storing PAC configuration files in a Git repository lets multiple developers collaborate on attack definitions and gives you proper version control, code review, and rollback. To connect Prancer to your repo you upload a small Git connector JSON and store your Git access token in the Vault.
Before you start
- A Git repository (GitHub, GitLab, Bitbucket, or Azure DevOps).
- A personal access token (PAT) with permission to clone the repo (see the table below for required scopes).
- A Prancer collection where you'll upload the connector.
1. Create the Git connector file
Save the file as git_connector.json (the part before .json becomes the connector name you'll reference in the PAC file).
{
  "branchName": "<branch>",
  "companyName": "<company>",
  "fileType": "structure",
  "gitProvider": "https://github.com/prancer-io/prancer-pac-sample.git",
  "httpsAccessToken": "secret-git-key",
  "private": true,
  "type": "filesystem"
}
| Field | Description |
| --- | --- |
| gitProvider | Clone URL for the repository. |
| branchName | Branch holding the PAC files. |
| httpsAccessToken | Vault key name where your PAT will live (set in step 3). |
Required token scopes
| Provider | Scopes |
| --- | --- |
| GitHub | repo, user |
| GitLab | read_api, read_user, read_repository |
| Bitbucket | Repositories → Read |
2. Upload the connector
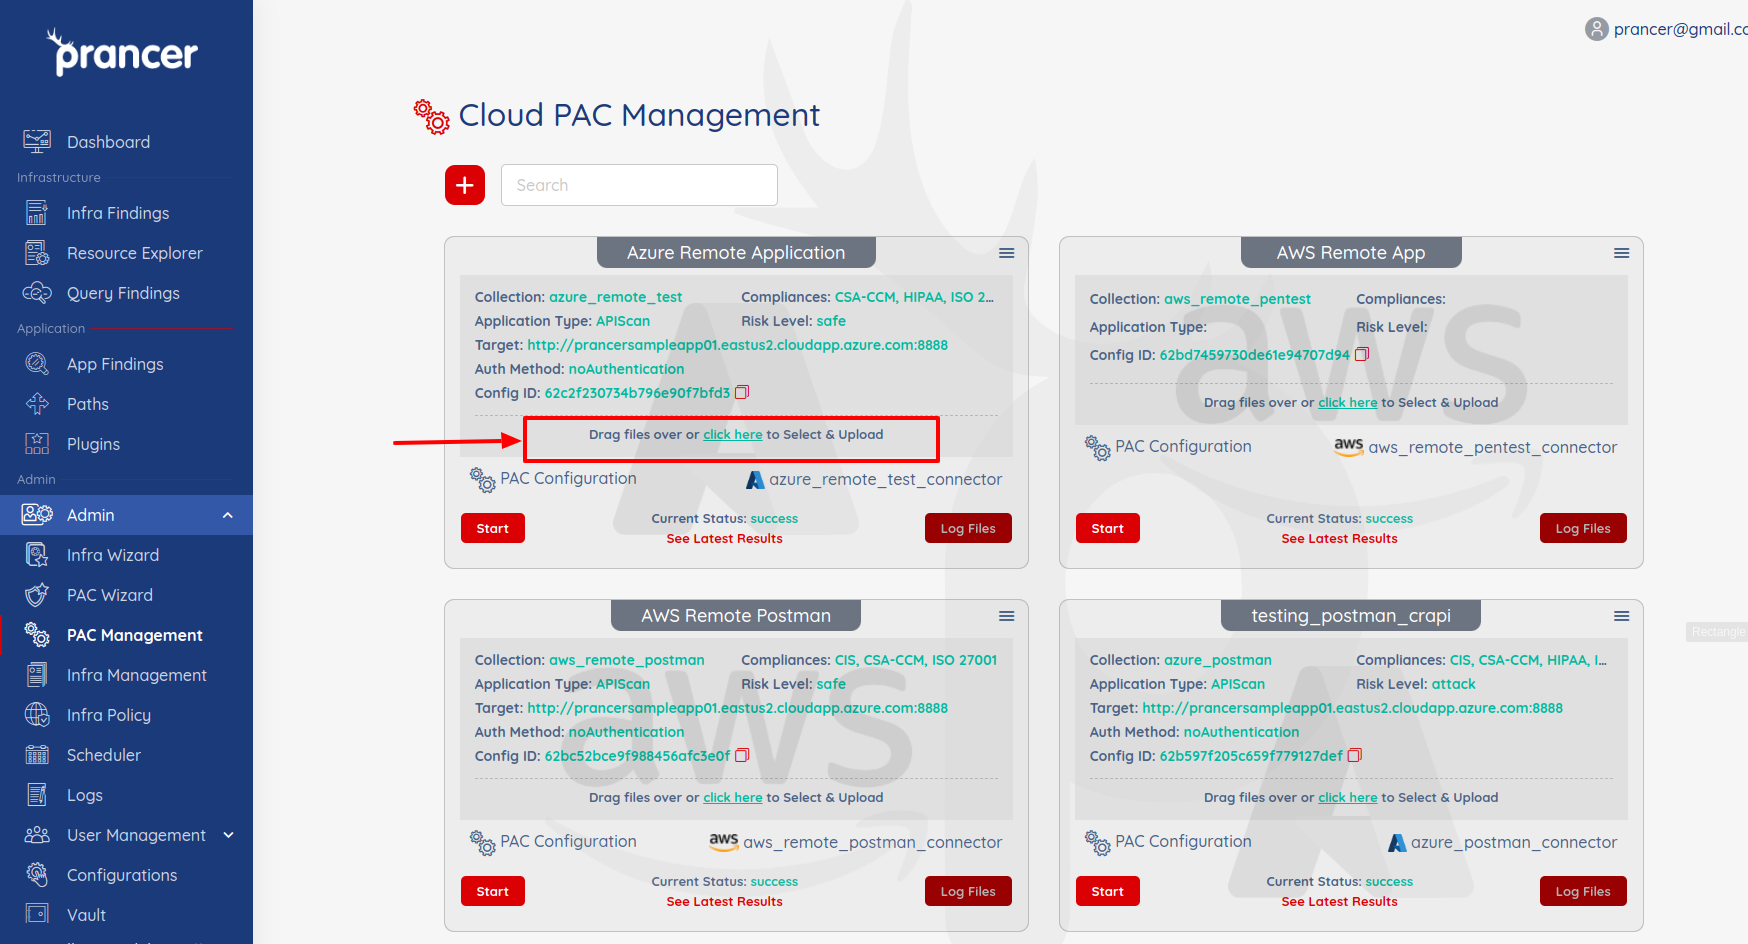
In PAC Management, drag-and-drop the git_connector.json onto your collection.
3. Store the Git PAT in the Vault
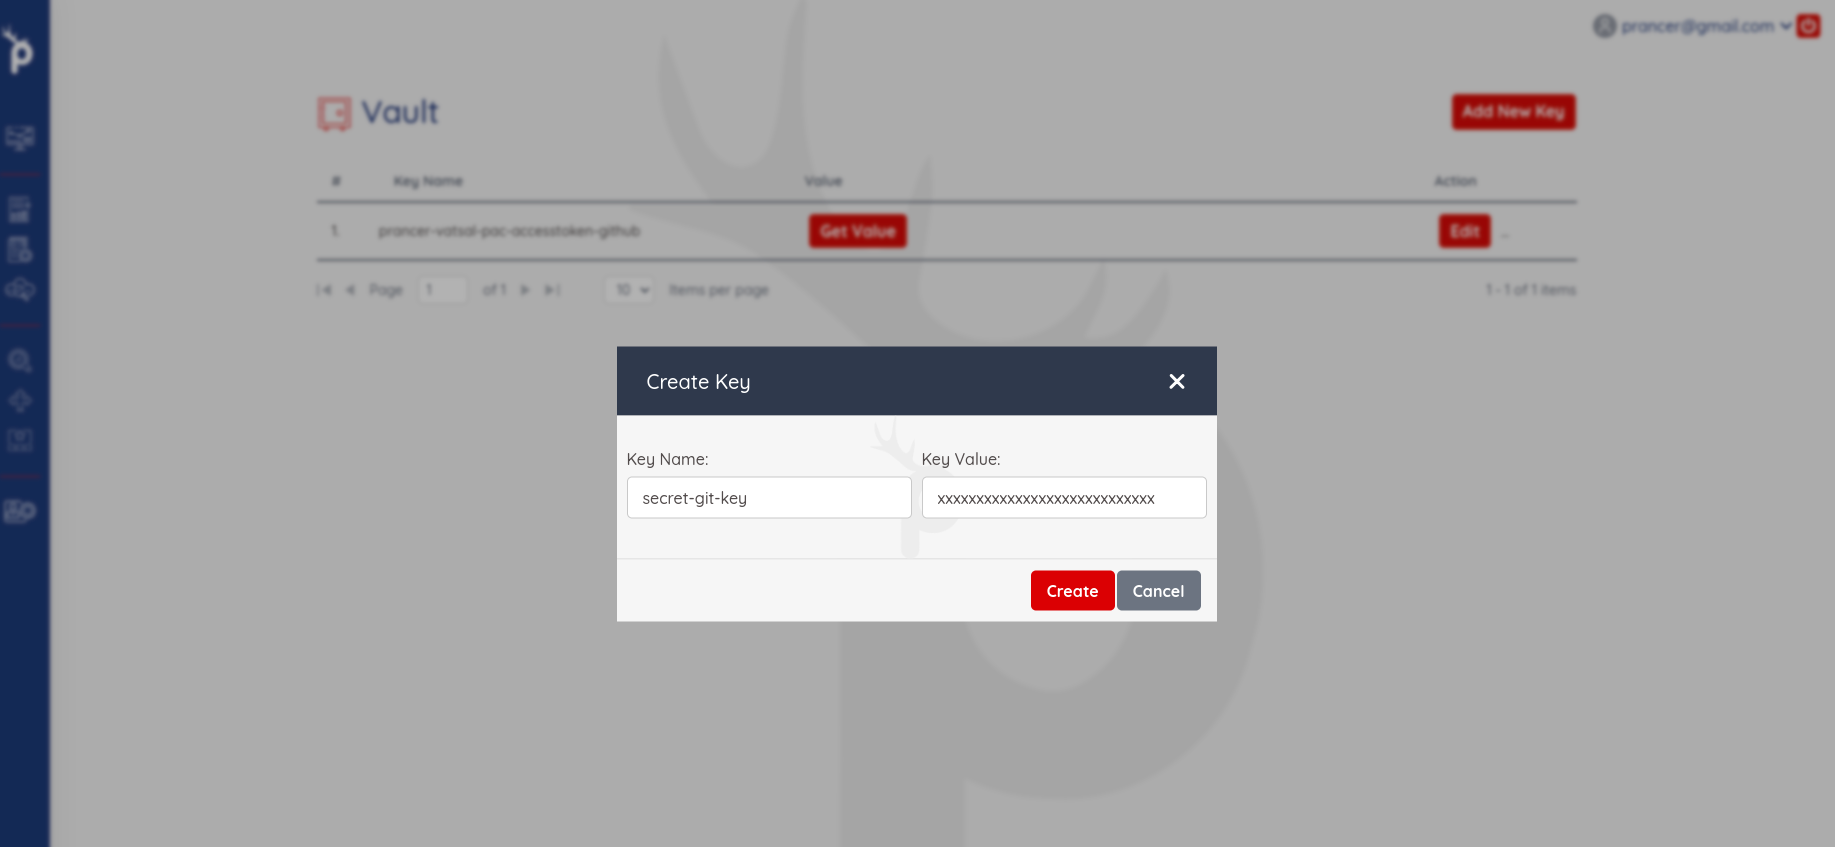
Create a new Vault entry where:
- Key Name = the value of
httpsAccessToken(e.g.secret-git-key). - Key Value = the personal access token you generated.
Warning: Never commit your PAT to the repo or paste it into the PAC file. Always reference it by Vault key name.
Tip: Tokens expire. Set a reminder to rotate them before the expiry date or scans will start failing with 401 Unauthorized from Git.
Next steps
- Custom Add-ons & CVE Management — load custom ZAP add-ons from the same connector.
- Postman Integration — point an APIScan at a Postman/OpenAPI file in Git.
- Vault — manage all secrets in one place.