Documentation / Home
Single Sign On (SSO)
Single Sign-On (SSO)
Let your team sign into Prancer with their corporate Azure AD / Entra ID accounts. Once SSO is configured, users click Corporate Login instead of entering an email/password — and you manage access through Azure groups.
Before you start
You'll need:
- An Azure tenant admin (you, or someone who can grant admin consent).
- An Azure AD group containing every user who should access Prancer.
- These four values from your Azure App Registration:
- Directory (tenant) ID
- Application (client) ID
- Group Object ID
- Client Secret
- A configured Service Principal Name (SPN) *(set this up before provisioning any user).*
1. Allow user consent in Azure AD
In the Azure portal:
Azure Active Directory → Enterprise applications → Consent and permissions → User consent settings
Pick Allow user consent for apps.
2. Add Microsoft Graph permissions
Azure Active Directory → App registrations → *select your app* → Manage → API Permissions → Add a permission → Microsoft Graph.
Add these:
Application permissions
Directory.Read.AllGroup.Read.AllGroupMember.Read.All
Delegated permissions
Group.Read.AllGroupMember.Read.AllUser.Read
Warning: click Grant admin consent afterwards — without this step, the permissions remain inactive.
3. Connect Prancer to Azure
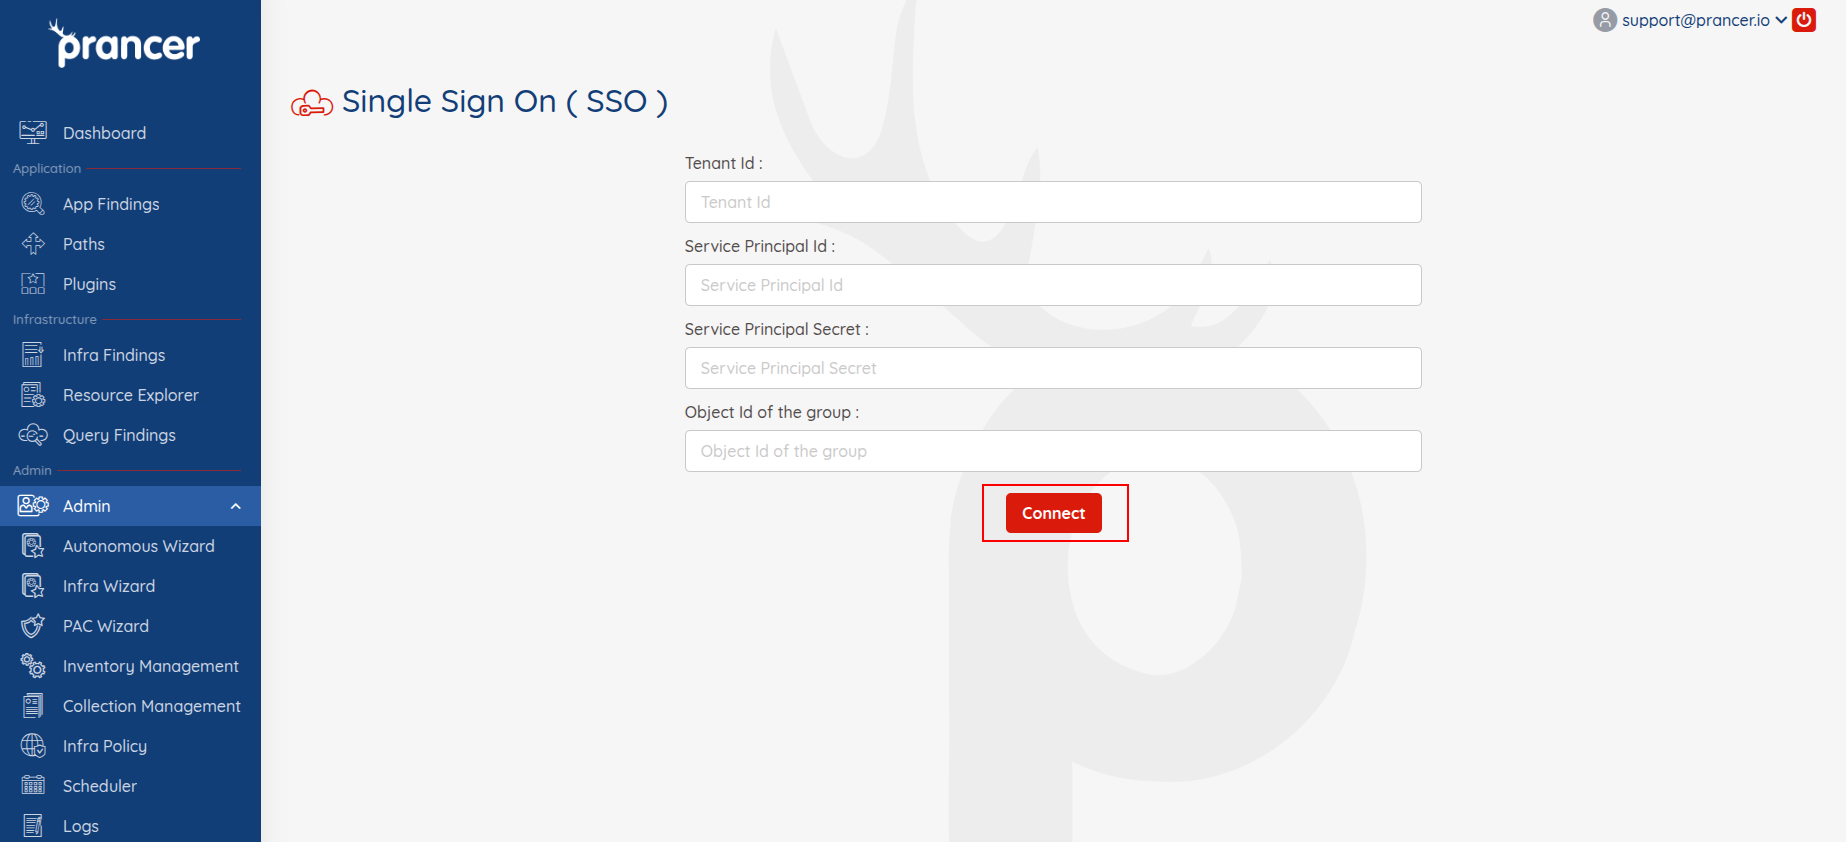
1. In Prancer, open the SSO screen. 2. Paste the four values above (tenant ID, client ID, group object ID, client secret). 3. Click Connect.
Prancer queries the Azure group and shows the members.
4. Provision users
Tick the users from the group you want to provision and confirm.
!Provisioning users from the SSO screen
5. Users sign in via Corporate Login
Once provisioned, users click Corporate Login on the portal sign-in screen.

Tip: SSO-provisioned users appear in User Management just like email-invited users — assign roles there.
Revoke access
Delete the user from User Management to revoke their access. Their Azure account is unaffected.
Next steps
- Assign roles to provisioned users in User Management.
- Lock down further with Configuration options.