Documentation / Home
API/User Access token
API / User Access Token
API tokens authenticate non-interactive access to your Prancer tenant — for the CLI, CI/CD pipelines, the VS Code extension, and the Prancer REST API. Generate as many tokens as you need; revoke them anytime.
Warning: treat tokens like passwords. They grant the same level of access as the user who created them.
Before you start
- You're logged into the portal.
- You know what the token is for — name it accordingly (e.g.
github-actions,vscode-laptop).
1. Open the token screen
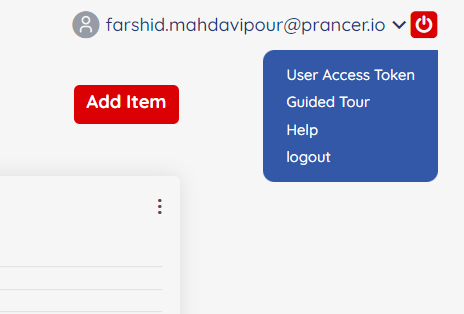
Click your user icon in the top-right and choose User Access Token.
!User menu with User Access Token option
2. Create a new token
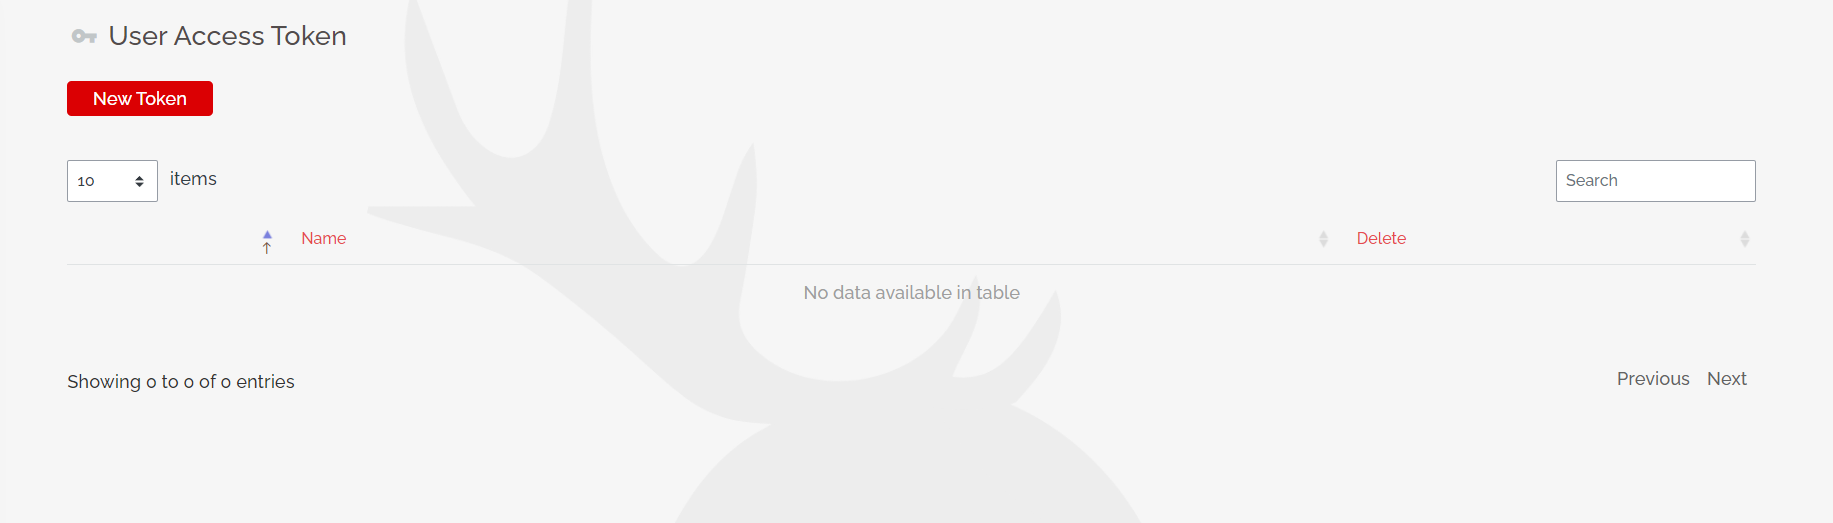
Click New Token.
3. Name your token
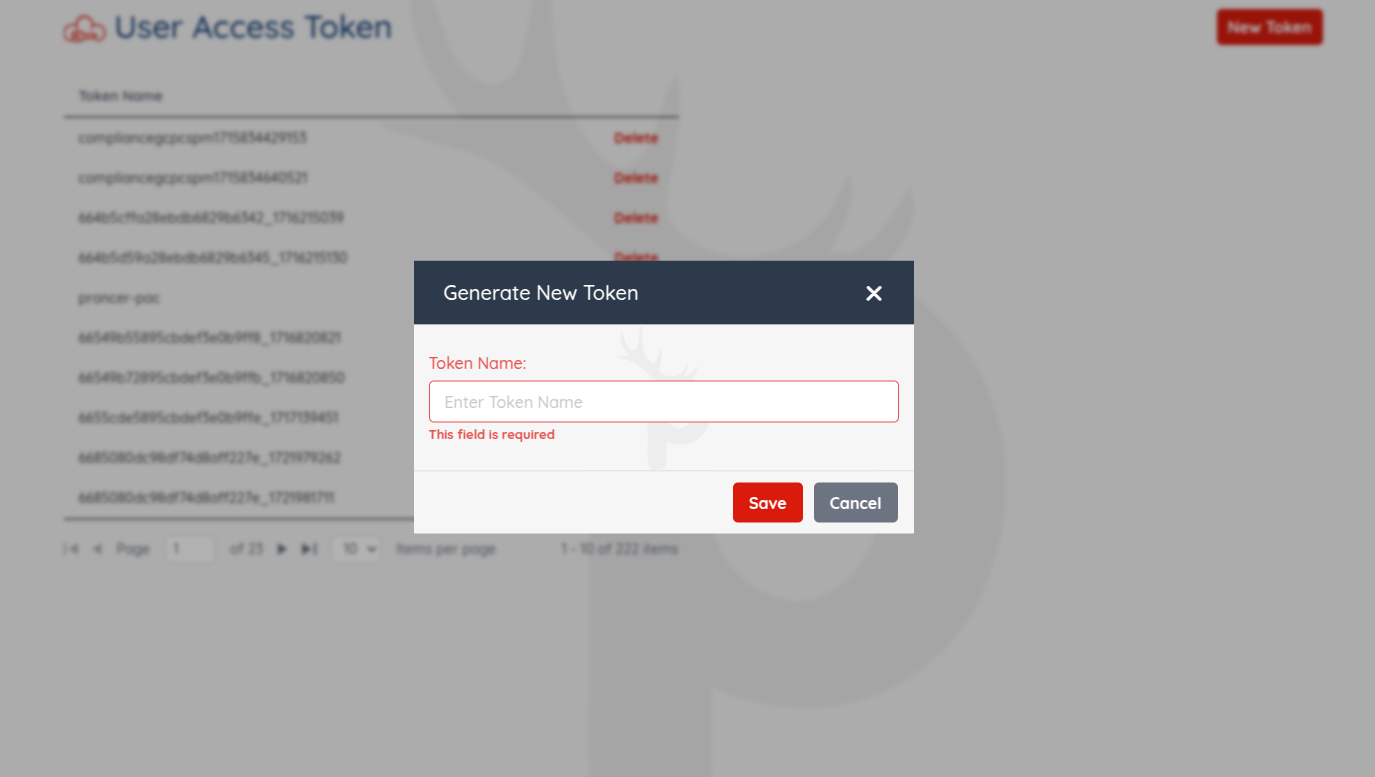
Use a descriptive label so you can identify it later, then click Save.
4. Copy and store the token
The token is shown only once. Copy it and store it in a secrets manager (1Password, Azure Key Vault, GitHub Secrets, etc.).
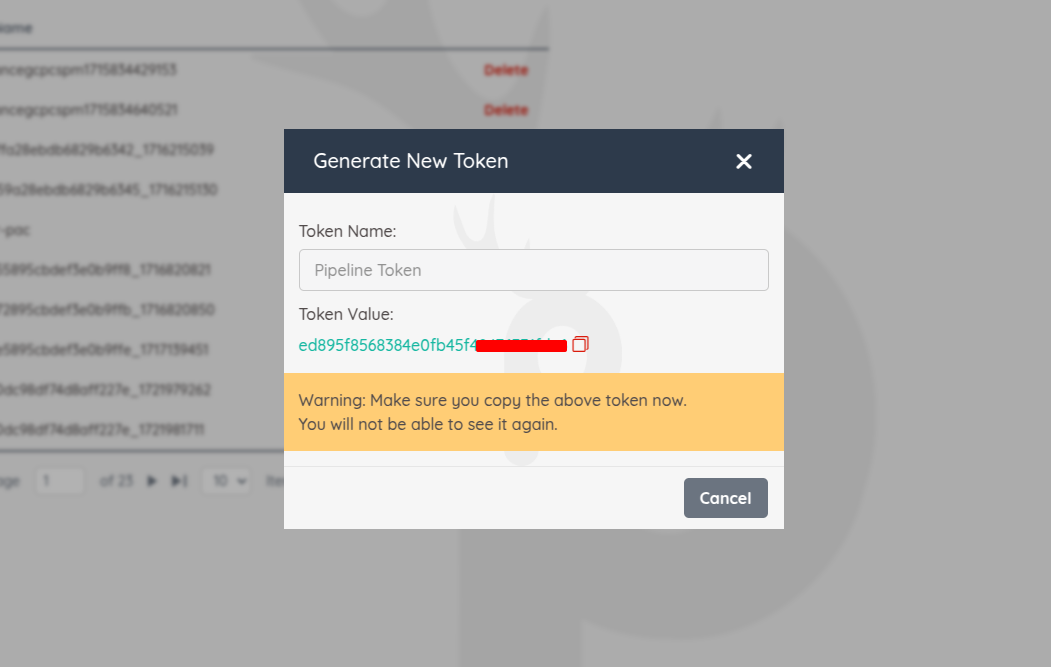
Warning: if you lose a token you can't recover it — delete it and create a new one.
Best practices
- One token per integration — never share tokens between systems.
- Rotate tokens at least every 90 days, or whenever someone leaves the team.
- Delete tokens you no longer use from the same screen.
Next steps
- Use the token with the PAC CLI
- Wire it into GitHub Actions / Azure DevOps / Jenkins